How to make a gluten free buckwheat sourdough starter
Making gluten-free sourdough starter takes a little bit of patience and time, but it’s ultimately a very rewarding process. It will make the the most amazing sourdough loaves, muffins, pancakes, pizzas and more!
Today, I am sharing how you can grow the same buckwheat starter that I use for most of my sourdough bakes. Although I have a variety of starters in my fridge for experimenting purposes, I mainly use two to make gluten-free sourdough bread - old dough preferment and the 100% hydration buckwheat starter. I use old dough preferment to make my classic sourdough boule and for the rest of my bread recipes and desserts, I use the 100% hydration buckwheat starter.
I made this post specifically for buckwheat starter because it behaves slightly differently compared to other GF starters. ‘Don’t judge a book by its cover’ is probably the right saying to describe it. Buckwheat starter doesn’t look as active as other gluten-free grain starters and it has its own challenges during the growing process, but yet, it always surprises you with beautiful results. I’ve been baking bread with buckwheat starter for more than a year now and I can assure you that even thought it looks a little slow during the fermentation process, the bread will rise beautifully in the oven and contribute to a wonderful crumb structure.
So what are those challenges you could potentially face when growing your buckwheat starter? Here is what you need to know:
Buckwheat sourdough starters take longer to develop than other GF grain starters. It usually takes around 10 days to see stable activity, but it could take up to 2 weeks.
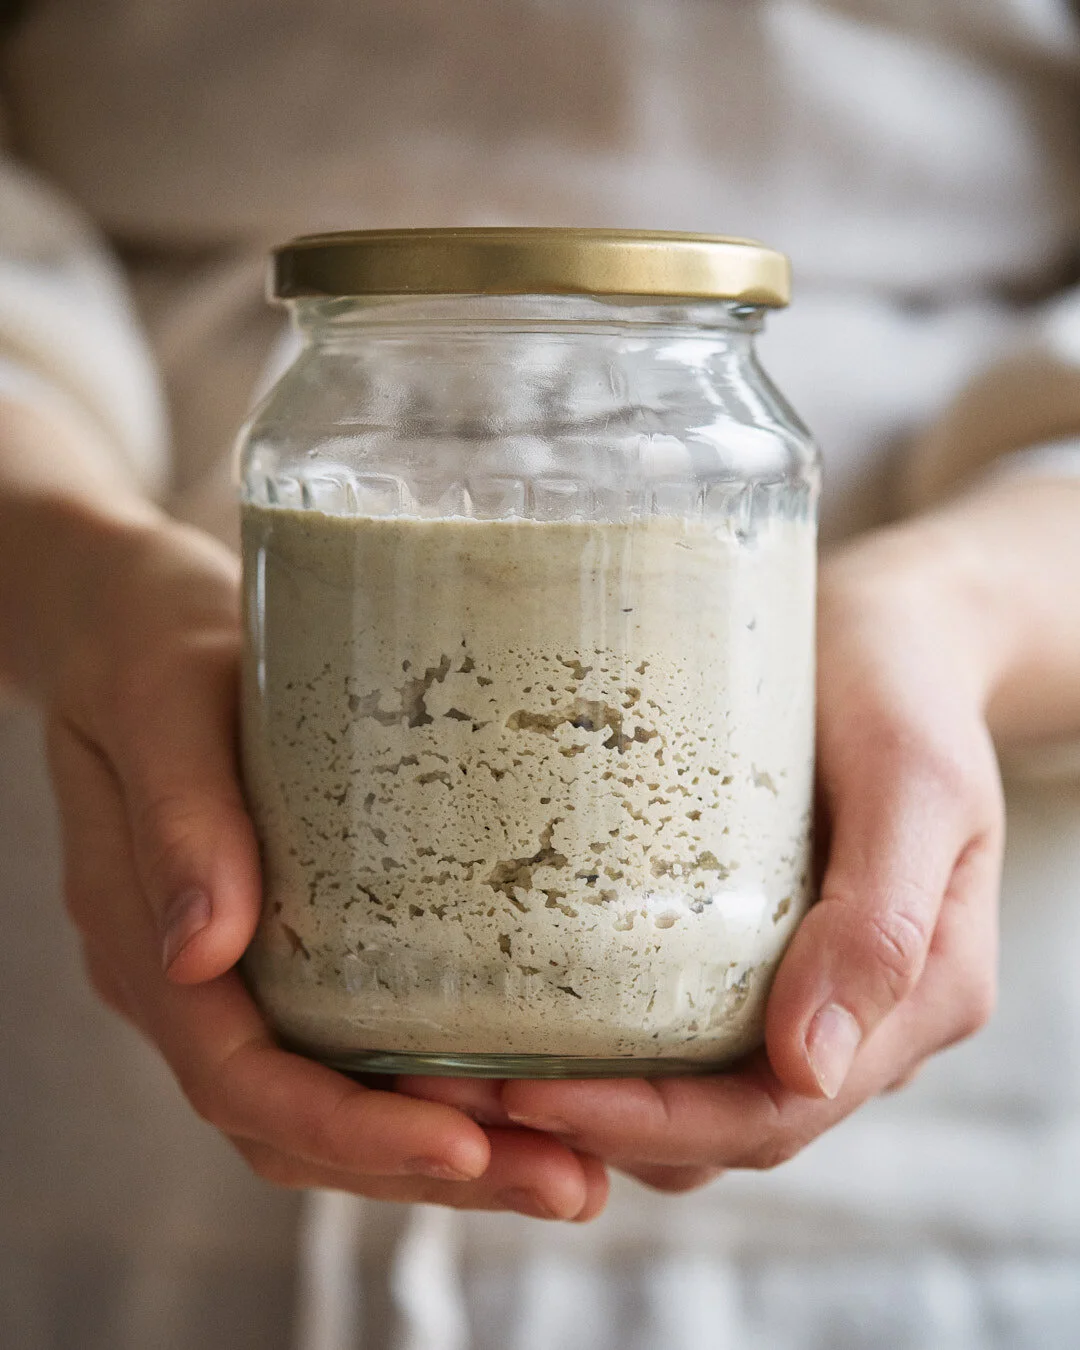
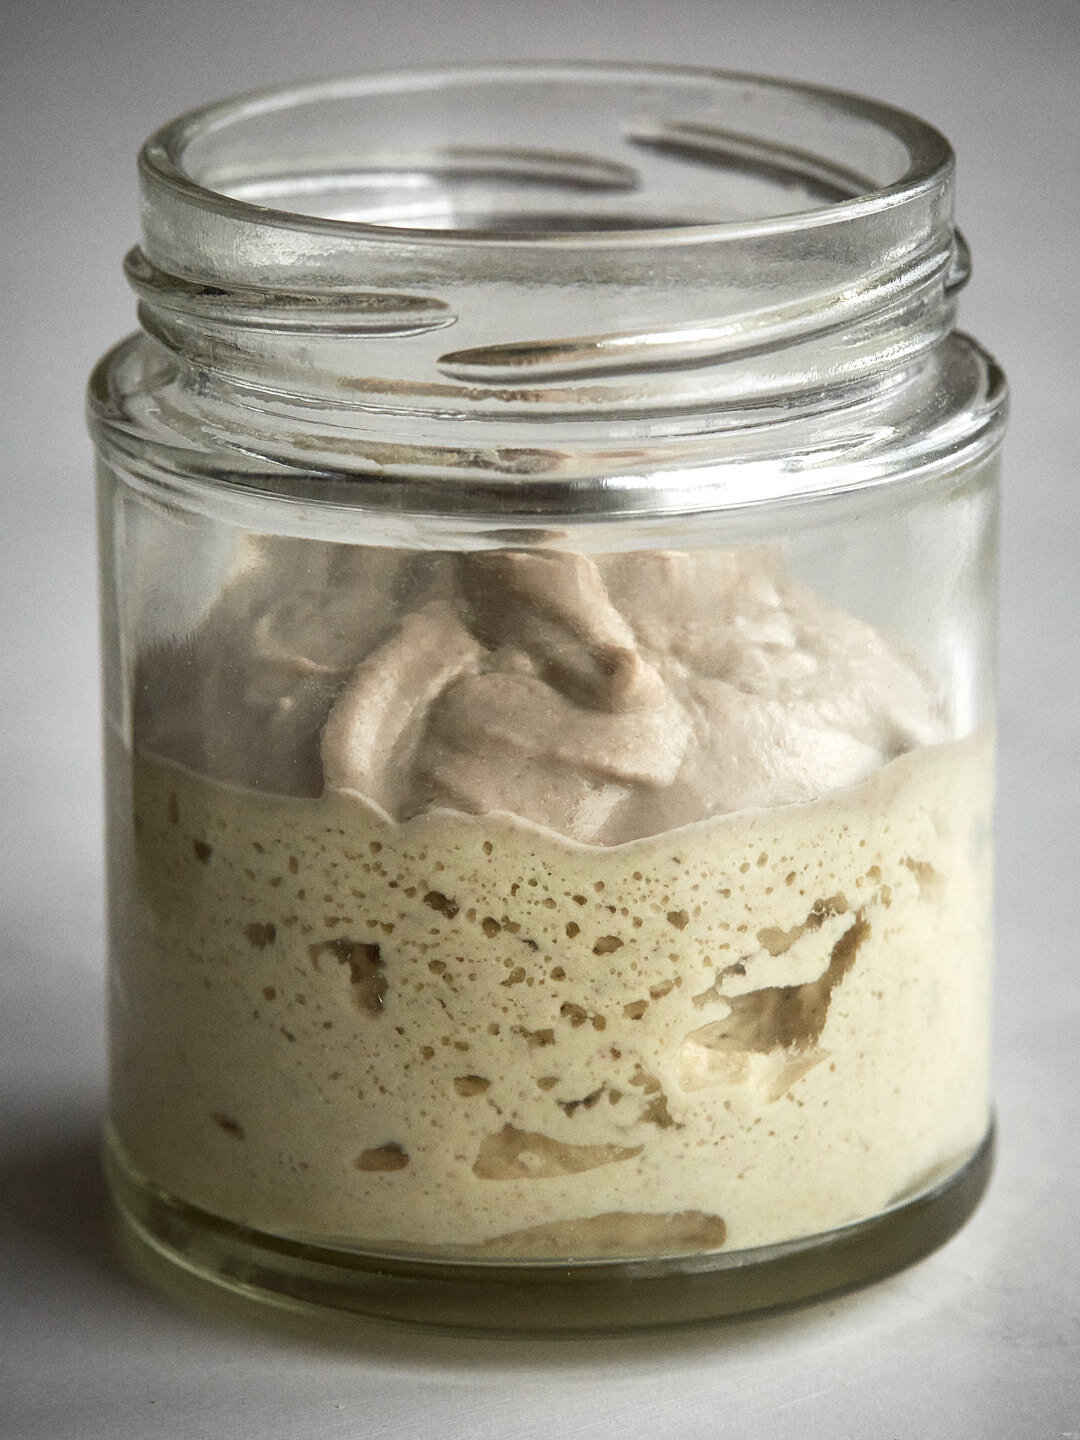
Unlike other starters, buckwheat starter won’t have big bubbles and it may look like there is not much activity happening. That’s normal. What you are looking for is a lot of small tiny bubbles rather than the big ones you would get from other GF grain starters.
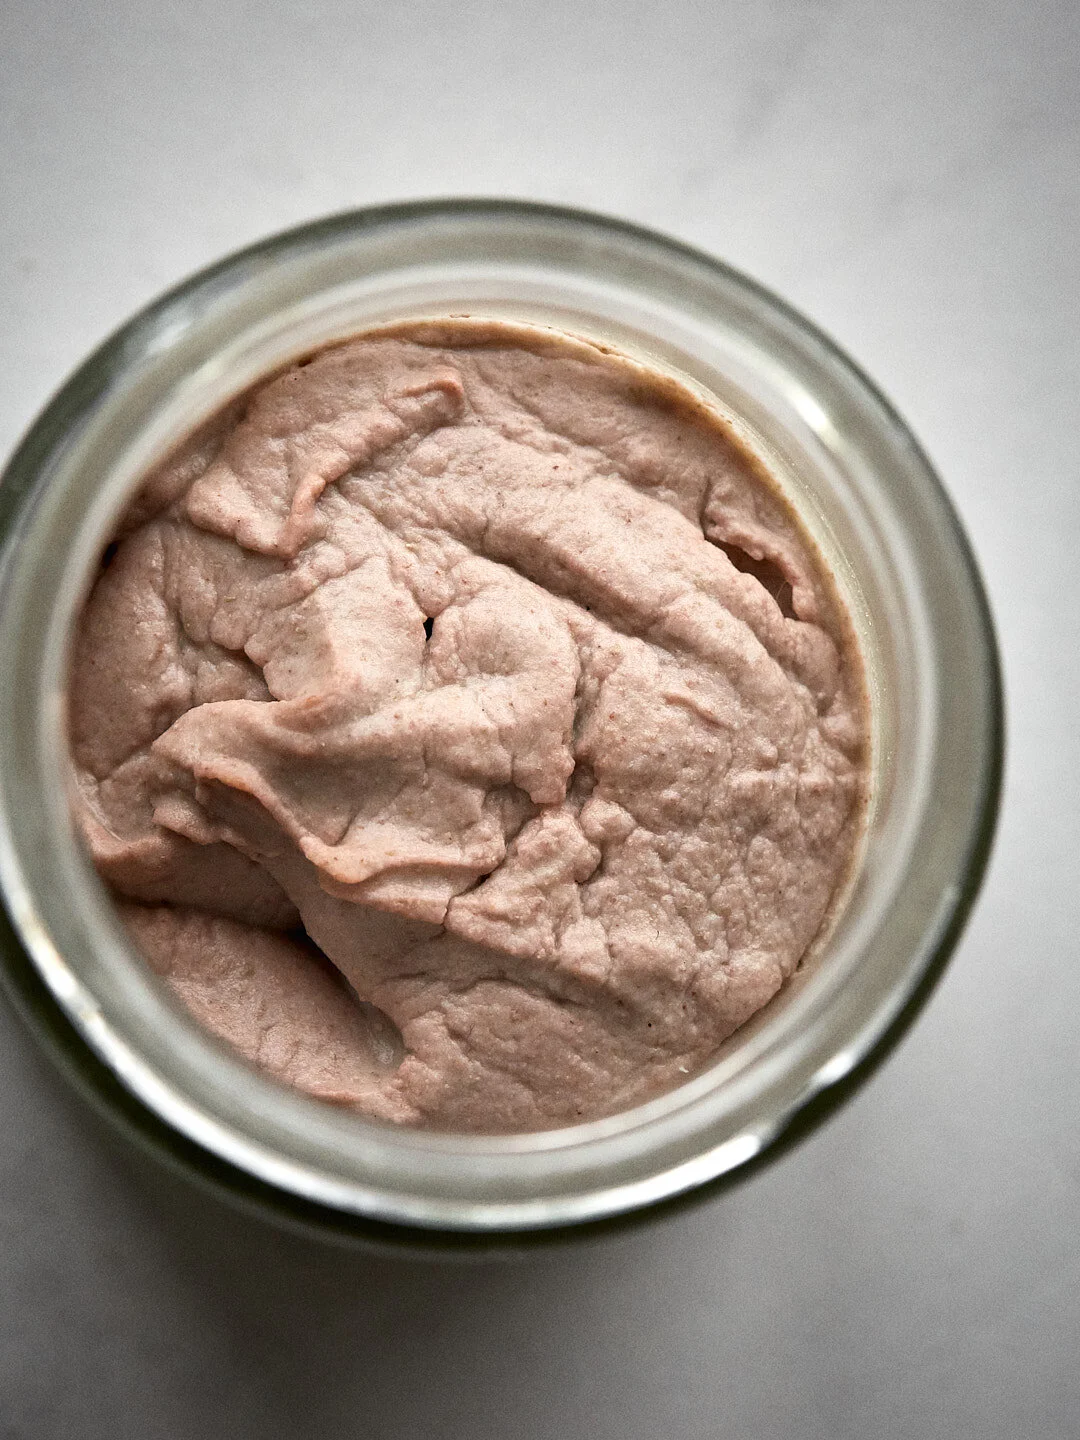
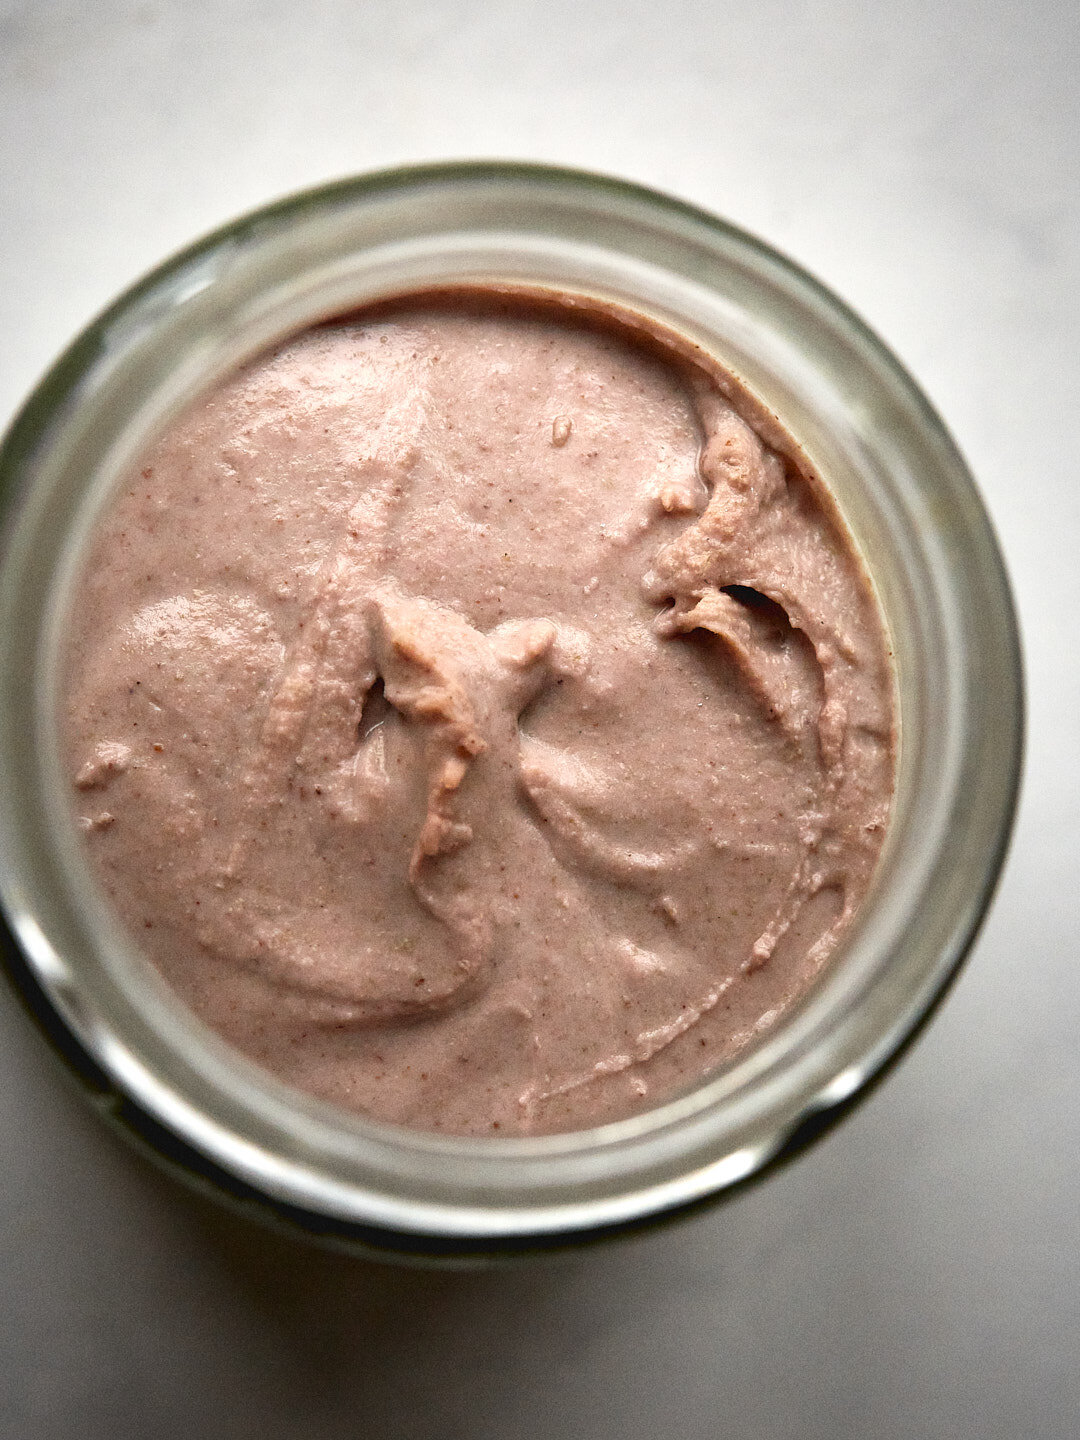
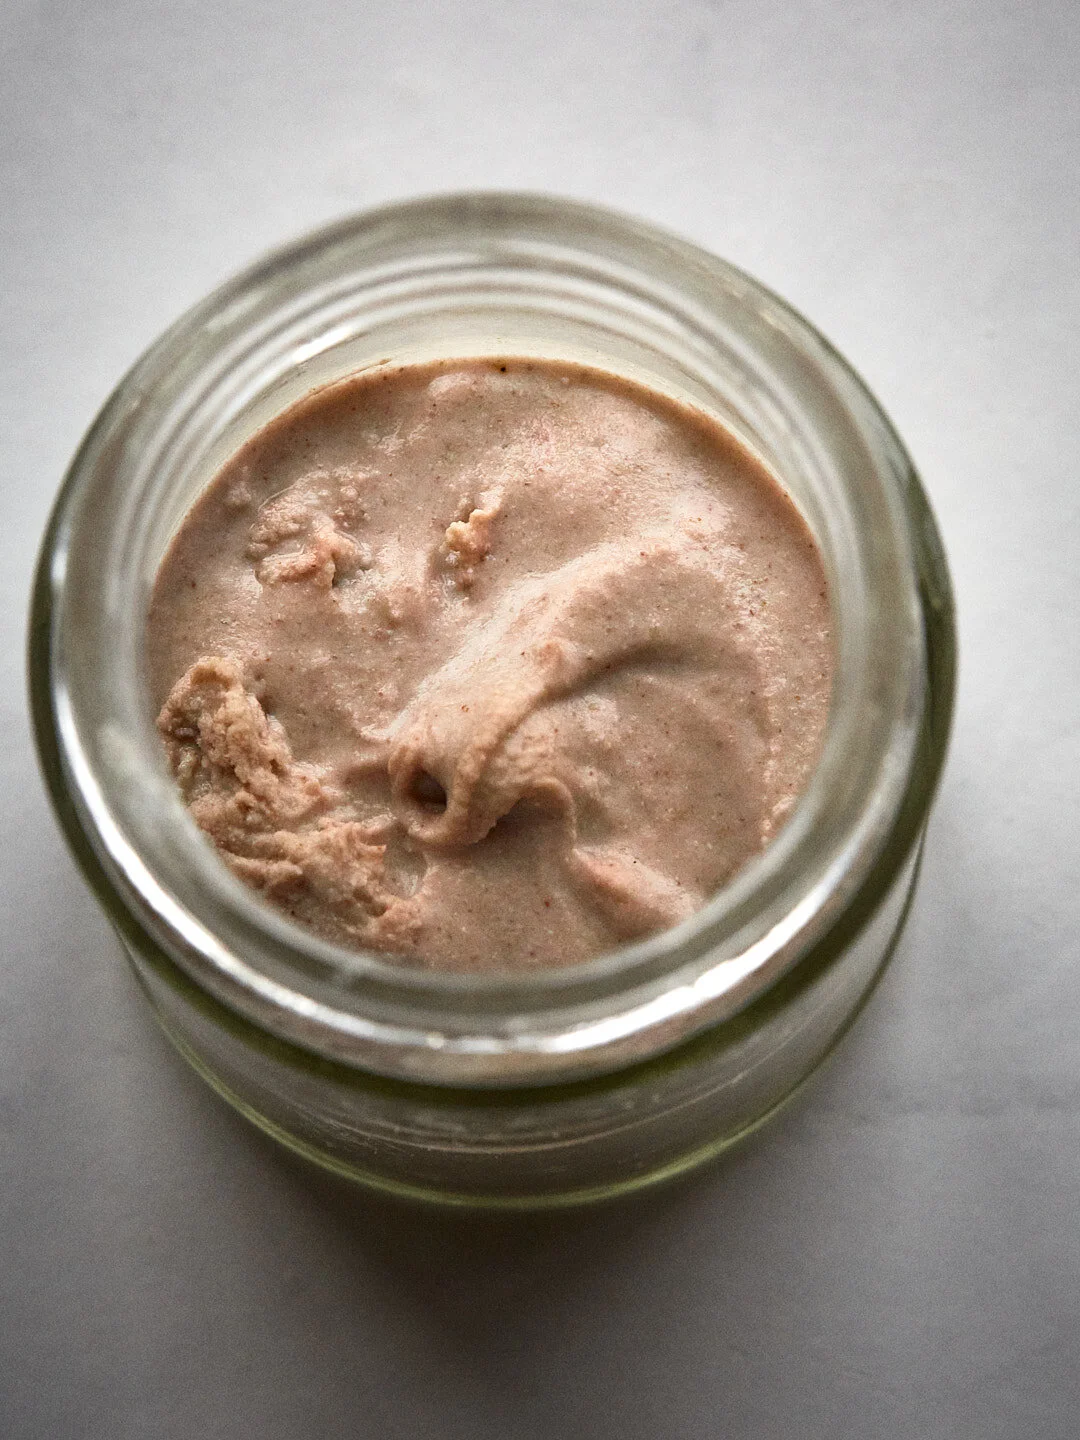
Throughout the growing process, buckwheat starters tend to develop a slight pinkish layer on the top. This is not unusual and it should go away as the starter matures. So far, I haven’t found enough information to explain this phenomenon, but from what I’ve learnt to this point, I believe that anthocyanin compounds, found in buckwheat, are responsible for this colour change. You can learn more about buckwheat and antocyanins here. It may have to do with the changes in the starter’s pH level, which makes it go back to a normal colour once it has matured, but that’s just a guess. If there are any obvious signs of mould activity, rather than what I have just explained (or shown in the images below), throw the starter away and start again.
The feeding process I am sharing today was adapted from the ‘Promise & Fulfillment - formulas for real bread without gluten’ book by the talented gluten-free baker Chris Stafferton.
Ok, let’s get started!
GLUTEN-FREE BUCKWHEAT SOURDOUGH STARTER
TOOLS:
1 medium size & 1 small size sterilised glass jar (plastic containers are fine too)
Sterilised spoon
Cheesecloth
A few rubber bands* (one rubber band to secure the cheesecloth and another one to mark the level of your starer.)
Kitchen scales
INGREDIENTS:
Filtered water at room temperature
Organic buckwheat flour (I use common buckwheat rather than the tartary variety)
SALE
Master gluten-free sourdough bread-making at home!
Pre-recorded classes from just €11.99
DAY 1 – In a medium size jar, mix 30g of buckwheat flour and 30g of water. Stir until it reaches a smooth batter consistency. Scrape down the sides and cover the container with a piece of a cheesecloth. Mark the level of your starter with the rubber band and leave it at room temperature for 24h. (Somewhere pleasant - not too hot, not too cold).
DAY 2 – You may notice some small bubbles, but it’s completely normal if you can’t see any activity. Keep feeding your starter without discarding anything. Add another 30g of flour and 30g of water to the same jar and mix it well. Scrape down the sides and cover it with a piece of a cheesecloth. Mark the new level of your starter and let it rest for 24h.
DAY 3 - By now, you should start seeing some bubbles beginning to form. Repeat the day 2 process and once again, do not discard anything.
DAYS 4-9 – In these days, you will be discarding some of the starter before feeding it. In the smaller jar, measure out 30g of the sourdough starter mixture. To this, add 30g of flour and 30g of water and mix it well. Scrape down the sides and cover the container with a piece of a cheesecloth. Mark the new level of the starter and let it rest for 24h. Discard the remaining starter and wash the bottle. It’s very normal to see your starter peaking in activity during the first few days and then dropping down to almost nothing just a few days later. If that happened to your starter, don’t worry! Continue with the usual feeding regime, it will pick up again and become more stable.
DAY 10 – The starter should be ready by now, but if not, continue with the same daily feeding regime as day 4-9 for up to 4 days. The starter is ready when there are small bubbles throughout and it has grown in volume, close to or about double. Note that, in comparison, other grain starters may expand even more in volume.
Note: If you want to bake bread the following day, make sure to make a bigger batch of the starter, so you have enough to make bread and to set some aside for future bakes.
Below I’m sharing a few examples from different stages of the growing process. Here is what you can expect from your buckwheat sourdough starter:
Note: You may have noticed that I did not use a rubber band to mark the level of my starter. I completely forgot to do so, as I’m pretty in tune with the process and no longer mark my starters. However, if you’re just starting out, I highly recommend to use it to track the process.
DAY 2
This is how my starter looked after the first 24 hours of feeding it. You can see small bubbles all throughout and a pink layer forming at the top, which as explained above, is very normal for a buckwheat starter. It’s not mould and nothing to worry about, just continue as normal.
DAY 3
24h after the second feed the starter looked pretty much the same - lots of tiny bubbles and the same pink layer forming on the top.
DAY 5
Halfway through the process, the activity of the starter has dropped. This is very normal and nothing to worry about. Your starter is not stable yet, as it’s not matured. Just continue with the normal feeding regime.
DAY 9
The starter is almost ready to use! Have you noticed that the pink layer is almost gone? For the buckwheat starter, these bubbles look quite big. If your starter doesn’t look as active, that’s ok and nothing to worry about. Some days my buckwheat starter looks like the one in the image below, but most of the time, the bubbles are much smaller. I will be adding more examples in the future.
SOURDOUGH STARTER MAINTENANCE
Depending on how often you’re planning to bake, you can either keep your starter at room temperature or refrigerate it.
DAILY SOURDOUGH MAINTENANCE
If you tend to bake almost every day, you can leave your starter at room temperature and feed it 2x a day. I like to feed my starter in the morning at a ratio of 1:4:4 (starter:flour:water), which is then kept at 21°C to 24°C for 12 hours. However, if for some reason I can’t feed my starter when the time is up, I just pop it in the fridge and feed it later on in the day.
WEEKLY SOURDOUGH MAINTENANCE
If you only plan to bake a few times a week then there is no need to keep it at room temperature and feed it as often. You can store your starter in the fridge. Feed your starter at a ratio of 1:1:1, let it sit at room temperature for 1 to 2 hours and then pop it back inside the fridge. Repeat the process once a week.
SOURDOUGH STARTER FAQ
There is a layer of runny liquid on the top of my starter. What should I do?
There are a few reasons why this could’ve happened:
‘Hooch’ - is a runny liquid containing alcohol and water that forms on the top of your starter when it starts running out of food, telling you that it is hungry. Hooch is completely harmless and if you like your bread sour, you can simply stir it back in before feeding it. Otherwise, to reduce the acidity of your starter, pour the liquid out and then refresh your starter.
Excess water - this is unusual for 100% hydration buckwheat starter, but if you were to make it with millet flour you would most likely notice a layer of water on the top of the starter a few hours after feeding it. This is an excess water that millet flour is not able to absorb, which you can remove if you like. If you decide to make millet starter, I would recommend experimenting with 80-90% hydration rather than 100%.
There is something growing on my starter. Should I throw it away and start again?
Yes, definitely! Mould activity is fairly rare and would most likely happen only if you were to leave your starter neglected for a very long time. However, if at any point you suspect some mould activity, discard the starter and start again from scratch. Make sure that the utensils you are using to prepare you starter have been sterilised properly. Also, double check your flour (or the grains you are using to make flour) before starting the process again. How long has it been sitting in the cupboard? Is it spoiled? Maybe it has come in contact with some moisture?
However, before throwing it away, make sure it’s not the pink layer that usually forms on the top of the buckwheat starter before it matures. Please refer to the images above.
I’m going away on holidays. What should I do with my starter?
If you’re planning to go away for a few weeks, I wouldn’t worry at all. Your starter should be just fine. However, instead of feeding it at a ratio of 1:1:1 you could add double the amount of flour to feed it and reduce the amount of water to mix the starter, which will help to slow down the fermentation process and reduce the acidity of your starter.
How can I make sourdough bread using this starter?
Registration for my next online gluten-free sourdough class will open this week! I will be sharing more information very soon. Make sure to check my Instagram or ‘events’ page for any updates.

